 Battle
of Hattin (1187 AD)
Battle
of Hattin (1187 AD)Fast Play Rules for Students
Battle
of Hattin (1187 AD)Historical Background: In 1095 AD Pope Urban II called for a crusade to bring the Holy Land under Christian control, declaring, “God wills it!” Four years later the crusaders captured Jerusalem and massacred the inhabitants following a bloody siege. The crusaders carved out several small kingdoms in the Middle East centered on powerful castles and fortified cities.
 In 1170
AD a new, powerful leader rose to lead the Muslim counterattack.
For a while Saladin, as he was known in the West, maintained an
uneasy peace with the crusaders. However a series of provocations
by the crusaders broke the truce and finally forced his hand.
He gathered a large army and laid siege to Tiberias. The Crusaders
went for the bait and marched to the rescue. Their line of march
took them across a desert where the heavily armored knights suffered
terribly in the summer heat. Saladin sent soldiers to harass them
during the march, slowing their advance to a crawl. The army was
dying of thirst when they approached Lake Tiberias only to find
Saladin’s army blocking their path.
In 1170
AD a new, powerful leader rose to lead the Muslim counterattack.
For a while Saladin, as he was known in the West, maintained an
uneasy peace with the crusaders. However a series of provocations
by the crusaders broke the truce and finally forced his hand.
He gathered a large army and laid siege to Tiberias. The Crusaders
went for the bait and marched to the rescue. Their line of march
took them across a desert where the heavily armored knights suffered
terribly in the summer heat. Saladin sent soldiers to harass them
during the march, slowing their advance to a crawl. The army was
dying of thirst when they approached Lake Tiberias only to find
Saladin’s army blocking their path.
In the battle that followed the crusader army was destroyed. Raymond of Tripoli was the only commander to escape, the other the crusader leaders were killed or captured. Saladin’s forces also capture a treasured holy relic – the “True Cross.” The crusader kingdoms could not survive the loss of so many soldiers. Saladin was able to follow up this victory by capturing many lightly defended castles and cities, including Jerusalem. This led to more crusades. The famous third crusade pitted Richard the Lionhearted against Saladin, but the Battle of Hattin had permanently turned the momentum against the crusaders.
Battle 1: The Muslims were eager for battle and immediately
launched charges with their light cavalry. The Bedouins on the
left wing were particularly aggressive. They followed this with
a barrage of arrows that darkened the sky and inflicted many casualties.
It soon became clear that a static defense was hopeless, so the
crusaders sent their cavalry out to the flanks to attempt a breakout.
Saladin saw this and he led an all out attack on the weakened
center while ordering his reserves to support the flanks. As the
center buckled the knights found their escape routes blocked.
Only the Knights Templar were about to slip out of the trap, although
the Grand Master Templar and all the crusader commanders were
captured.
 Battle 2: Early in this
battle the powerful Templars were able to break through the Muslim
lines and threatened to turn the flank. On the other side of the
battle things didn’t go as well for the crusaders. Raymond
of Tripoli was captured, demoralizing the army. In the center
al-Afdal, Saladin’s son, led an effective attack that broke
through the crusader lines in several places. The knights fell
back to defend King Guy of Jerusalem and the True Cross. The Bedouin
light cavalry seemed to be everywhere, and they moved to contain
the rampaging Templars. The attack in the center finally succeeded
in capturing the True Cross but at a high cost – al-Sadfal
was killed by his own men in a tragic case of mistaken identity.
Suddenly it was every man for himself as the crusader commanders
desperately tried to escape. After a spirited pursuit King Guy
was captured. Only the Grand Master Templar was able to ride to
safety but as he left the battlefield he was challenged by Taqi
al-Din. The arrogant Grand Master accepted the challenge and was
killed in personal combat with Saladin’s lieutenant. The
rout was complete.
Battle 2: Early in this
battle the powerful Templars were able to break through the Muslim
lines and threatened to turn the flank. On the other side of the
battle things didn’t go as well for the crusaders. Raymond
of Tripoli was captured, demoralizing the army. In the center
al-Afdal, Saladin’s son, led an effective attack that broke
through the crusader lines in several places. The knights fell
back to defend King Guy of Jerusalem and the True Cross. The Bedouin
light cavalry seemed to be everywhere, and they moved to contain
the rampaging Templars. The attack in the center finally succeeded
in capturing the True Cross but at a high cost – al-Sadfal
was killed by his own men in a tragic case of mistaken identity.
Suddenly it was every man for himself as the crusader commanders
desperately tried to escape. After a spirited pursuit King Guy
was captured. Only the Grand Master Templar was able to ride to
safety but as he left the battlefield he was challenged by Taqi
al-Din. The arrogant Grand Master accepted the challenge and was
killed in personal combat with Saladin’s lieutenant. The
rout was complete.
Rules
The Miniatures: The figures used were 1/72-scale plastics mounted two per stand, a mix from several sets. Italeri makes a set of Saracen Warriors (#6010) that includes some useful infantry and cavalry figures. Unfortunately the set also includes a lot of camelry, which weren't present at the battle of Hattin. I needed more cavalry, so I also used some Mongols from the Italeri (#6020) and Zvezda (#8003) sets. The Zvedva Mongols include some useful foot archers. Italeri's "The Knights" set (#6009) includes a nice selection of crusader infantry and cavalry, including crossbowmen. Figures from Revell's English Foot Knights and French Knights provided the rest of the figures I needed. All units were six stands in size - 3 stands in the front rank, three in the rear rank. Here are some paper soldiers you can print and use.

|
Saracens (Ayyubids): Saladin (Commander in Chief) Taqi al-Din Kukburi al-Afdal no-name commander |
Crusaders: King Guy of Jerusalem (Commander in Chief) Raymond of Tripoli Balion of Ibelin Reynald de Chatillon Gerard, Grand Master of Templars |
 The
Board: A 7.5 X 5 foot
table was used. The terrain was flat except for the hills know
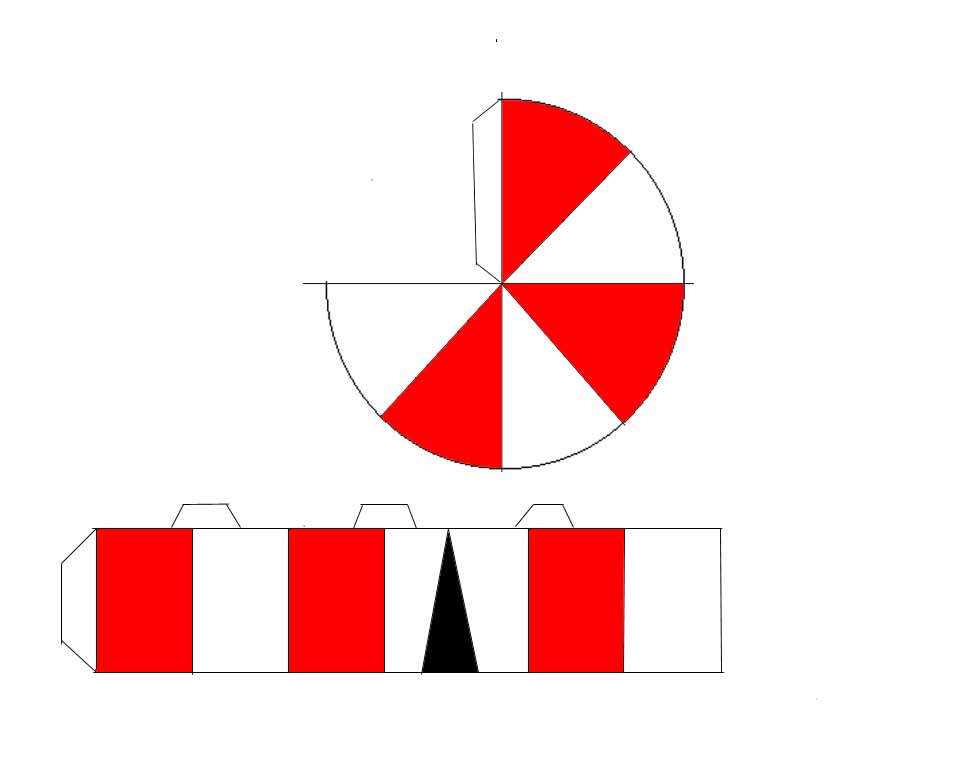
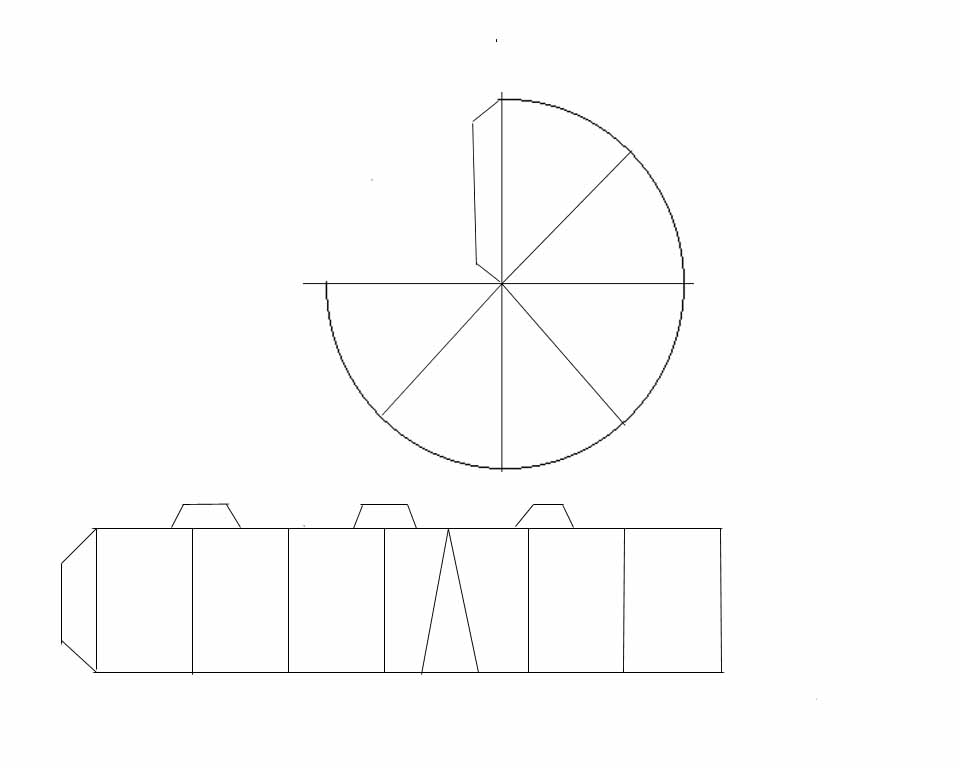
as the Horns of Hattin. Here's a paper tent you can print and
use: tent colored, tent
black & white.
The
Board: A 7.5 X 5 foot
table was used. The terrain was flat except for the hills know
as the Horns of Hattin. Here's a paper tent you can print and
use: tent colored, tent
black & white.
Deployment: The crusaders deploy in a box on one side of the board. The King's Tent containing the True Cross should be behind their lines. King Guy of Jerusalem must start next to his tent. The Crusaders should have the infantry and crossbowmen in front, with gaps in their lines for the mounted knights to charge through. The Saracens deploy on the other side of the board.
Sequence of Play:
1. Saracens Move
2. Saracens Shoot
3. Crusaders Move
4. Crusaders Shoot
5. Charge into Melee
6. Melee
7. Light Cavalry retreat from Melee
Movement: All infantry move and charge 6", cavalry move and charge 12".
 Shooting:
All the Saracen cavalry units, except the Bedouins, have bows
and may shoot. The only foot units with missile fire weapons are
the Saracen foot archers and Crusader crossbowmen. Roll 1D6 for
each stand in range (up to 12"). Every 6 is a hit and one
enemy stand is removed. If any part of a unit is in range the
entire unit may fire. Units that are engaged in melee may not
fire, and may not be targeted.
Shooting:
All the Saracen cavalry units, except the Bedouins, have bows
and may shoot. The only foot units with missile fire weapons are
the Saracen foot archers and Crusader crossbowmen. Roll 1D6 for
each stand in range (up to 12"). Every 6 is a hit and one
enemy stand is removed. If any part of a unit is in range the
entire unit may fire. Units that are engaged in melee may not
fire, and may not be targeted.
Charge into Melee: Both sides may charge into melee. This is the only way to get into hand-to-hand fighting. Foot units may charge up to 6", cavalry may charge 12". Units may only charge if they can reach an enemy unit.
Melee: Each side rolls 1D6 for each stand in the fight.
The Close Combat table shows the number needed to score hits.
Remove one enemy stand for every hit . Both sides roll simultaneously.
If both units still have stands left they remain engaged
 and fight again next turn.
Light Cavalry Retreat From Melee: A Saracen light cavalry unit may decide to retreat after melee. This is a free 12" move backwards.
Dying of Thirst: The Crusaders are dying of thirst. They always roll one less die in melee. For example, a six stand Crusader unit would roll only five dice in melee, not six. This doesn't affect the crossbowmen when they fire their crossbows during the shooting phase.
Higher Ground: A unit has an advantage in melee if it is fighting on higher ground than its opponent. A unit in such a position gets to roll one extra die in melee.
 Moving
Between Infantry: It was
a standard tactic of the period for the cavalry to move through
gaps between infantry, charge, then retire behind them to recover.
A mounted unit may move between friendly infantry units if there
is a gap at least one stand wide between them. This rule can not
be used to move between enemy units, or during the charge phase.
Moving
Between Infantry: It was
a standard tactic of the period for the cavalry to move through
gaps between infantry, charge, then retire behind them to recover.
A mounted unit may move between friendly infantry units if there
is a gap at least one stand wide between them. This rule can not
be used to move between enemy units, or during the charge phase.
The True Cross: The Crusaders brought along a holy relic to inspire them. The Cross is located in King Guy's tent behind the Crusader lines (you can fold some paper into a tent shape to represent this on the battlefield). Crusader units get to roll two extra dice in melee if any part of the unit is within 6" of the True Cross. This benefit is lost if the Saracens capture the Cross. This occurs if the Saracens reach the tent with a charge and there are no Crusader units in contact with the tent. King Guy of Jerusalem must remain with 6" of the True Cross until it is captured.
Last Stand: If a unit is reduced to one stand this last stand is removed immediately.
Generals: Generals may not be targeted individually if they are attached to a unit. If they are attached to a unit they count as an extra stand in melee (but not shooting). If the unit they are attached to loses stands in melee roll 1D6. If the roll is a 6 then the General is eliminated. If the general is charged while alone he may be eliminated just like any other stand.
 Victory
Conditions: The Saracens are trying to destroy the Crusader
army. They win if they eliminate all the mounted knights and all
the Crusader commanders and capture King Guy's tent (don't tell
them it contains the True Cross). The Crusaders win if they can
eliminate Saladin or keep possession of the True Cross. This is
very difficult. If the True Cross is captured, or the battle seems
lost, give them a new objective: escape. A Crusader commander
or mounted knight unit escapes if it can get off the Saracen side
of the board.
Victory
Conditions: The Saracens are trying to destroy the Crusader
army. They win if they eliminate all the mounted knights and all
the Crusader commanders and capture King Guy's tent (don't tell
them it contains the True Cross). The Crusaders win if they can
eliminate Saladin or keep possession of the True Cross. This is
very difficult. If the True Cross is captured, or the battle seems
lost, give them a new objective: escape. A Crusader commander
or mounted knight unit escapes if it can get off the Saracen side
of the board.
Resources: A search of the Internet, and Magweb, turned up several useful resources for wargaming Hattin.
|
|
|